
How to make a thick cushion cover without a zipper?
Louis MikolajczakShare
How to make a thick cushion cover without a zipper
The simplest way to make a thick cushion cover without a zipper is to choose an envelope cover. The principle is very practical: instead of adding a zipper, a discrete opening is created at the back using two overlapping fabric panels. The cushion stays in place, the cover is easy to remove, and sewing is much more accessible, even without much skill.
Before you start, three points really change the outcome. Choose a fabric with some body, plan for a fairly wide overlap at the back, and don't cut too precisely if your cushion is well-inflated. These details prevent a cover from stretching, gaping, or opening as soon as you lean on it.
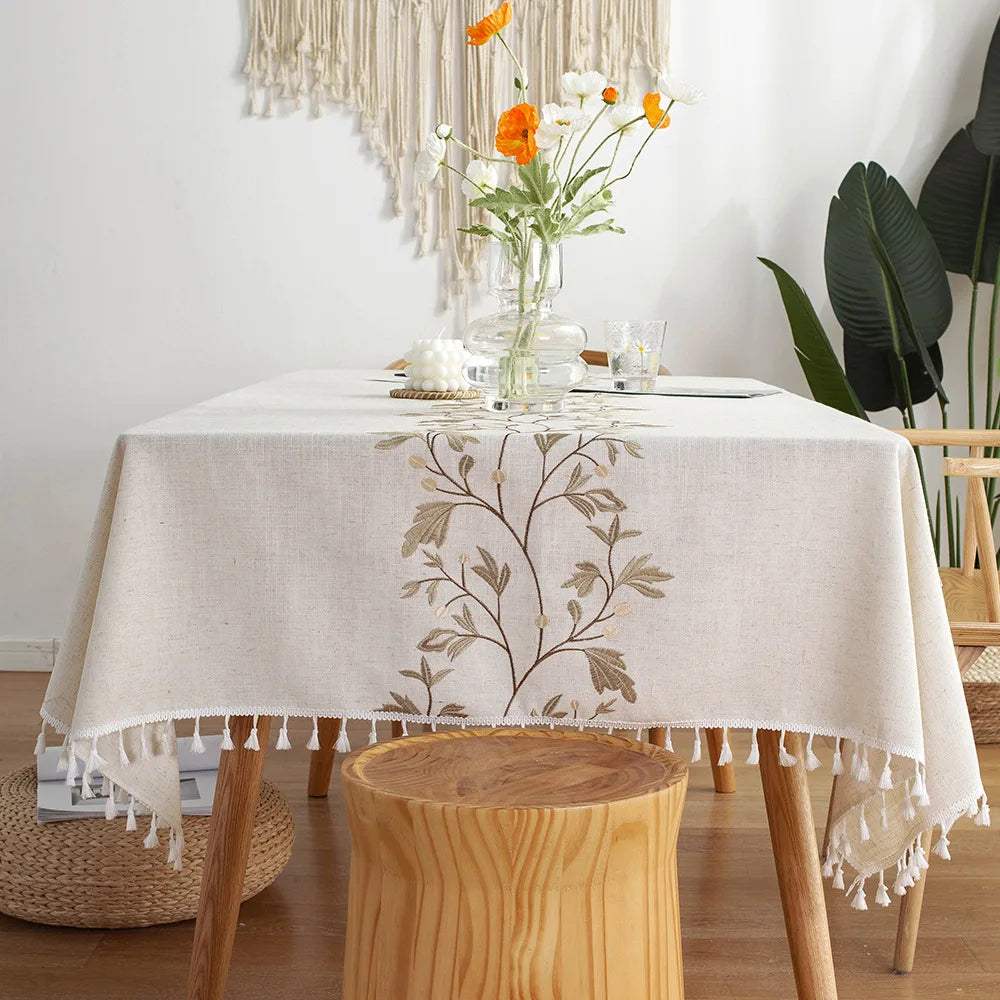
In this article, the goal is to get straight to the point: how to cut the right dimensions, how to sew neatly, how to adapt the method to a thick cushion, and above all, how to achieve a clean finish without a zipper. And to extend the inspiration afterward, it may be useful to take a look at the Cushion Cover collection, then see how to combine them in a living room with the guide How to match your cushion covers with your sofa.
Table of Contents
The direct answer: the simplest method
When you want to sew a cover without a zipper, the most effective method remains the envelope closure. The front is cut in a single piece, and the back is made of two overlapping pieces. Once the cover is turned right side out, the opening remains at the back, almost invisible, and the cushion can be easily removed for washing.
This technique works particularly well on a thick cushion, because it avoids closures that are too tight or poorly positioned. It is suitable for both a sofa cushion and a decorative cushion for a bedroom or armchair.
| Method | Difficulty | Main advantage | Ideal for |
|---|---|---|---|
| Envelope | Easy | No fastener to attach | Thick cushions, washable covers |
| Flap with buttons | Medium | Decorative finish | Decorative cushions rarely handled |
| Sewn closed cover | Very easy | Quick to make | Cushion rarely removed |
Materials to prepare
You don't need a professional workshop to succeed in this project. However, you should avoid working with too thin a fabric if the cushion is thick. A too light material risks pulling on the seams and giving a somewhat flimsy result.
- Upholstery fabric, thick cotton, or textured canvas
- Strong thread, matching or tone-on-tone
- Fabric scissors
- Measuring tape
- Pins or clips
- A sewing machine or careful hand sewing
The best compromise is often a fabric that holds its shape well, without becoming rigid. It should maintain a nice form, while remaining flexible enough for the cushion to fit in without forcing it.
How to properly measure a thick cushion
This is often where everything plays out. Many only measure the width and height, then cut an identical square. For a very thick cushion, this often results in a cover that is too tight or seams that pull.
The simplest way is to measure the cushion from one edge to the other, then plan a cut slightly adapted to its volume. It's not about making a cover that's too big, but about taking into account its plumpness. A well-filled cushion requires a bit more room than a very flat one.
For an envelope cover, you need to plan for:
- One front piece cut to the correct dimension
- Two pieces for the back of the same width
- Sufficient overlap in the center to hold the cushion
Steps to sew the cover
Once the pieces are cut, the construction is quite simple. The most important thing is to be consistent and not rush the finishing touches.
1. Cut the three pieces.
The front in one piece, then two panels for the back. Double-check the fabric direction if it has a noticeable pattern or texture.
2. Hem the two back panels.
On each back piece, fold the edge that will form the central opening. A double hem is often neater and more durable.
3. Position the pieces right sides together.
Lay the front piece flat, then place the two back panels on top, overlapping them in the center.
4. Pin all around.
The corners should be well aligned. Take a few extra seconds here: this prevents a cover from twisting or edges from being misaligned after turning it right side out.
5. Sew all four sides.
A regular seam is sufficient. If the cushion is heavy or heavily used, a small reinforcement in the most stressed areas can be useful.
6. Trim the corners slightly.
Cut off a little excess fabric in the corners, without touching the seam. The corners will be neater once the cover is turned right side out.
7. Turn right side out and shape.
Push out the corners well, iron if necessary, then gently insert the cushion through the back opening.
The result should be simple, neat, and practical. A good zipper-less cover shouldn't just be pretty: it should also be easy to live with every day.
Making several covers easily
Once you've understood the first one, it's very easy to make several in a row. This is also the best method if you want to harmonize a sofa, a bench, or a bed.
The simplest way is to work in series: cut all the front pieces together, then all the back pieces, make all the hems, then assemble cover by cover. You save time, maintain consistent dimensions, and the final result is more coherent.
This organization is very useful if you want to mix textures or create a small variation of colors without starting from scratch each time.
Mistakes to avoid
This project remains simple, but certain mistakes often recur. They are enough to spoil the result even though the sewing itself is not complicated at all.
- Choosing a fabric that is too thin for a well-filled cushion
- Planning a back opening that is too short
- Neglecting the interior hems
- Forgetting to check the direction of the pattern
- Wanting a cover that is too fitted at the expense of use
A successful cover is above all a cover that is easy to remove, stays in place well once installed, and maintains a beautiful appearance even after several manipulations.
Conclusion
Making a thick cushion cover without a zipper is much simpler than it seems. The envelope method remains the most practical because it combines ease of sewing, a clean finish, and comfortable daily use. No complicated zipper or technical finishes are needed to achieve a lovely result.
With suitable fabric, good measurements, and a well-overlapping back, you get a neat cover that's easy to wash and pleasant to use. It's also a great basis for creating several matching covers without complicating your life, whether for a sofa, a bedroom, or a reading nook.